The look of water reflections in a photography studio does not require expensive, specialized equipment to be installed or a complicated set-up. From a single roll of reflective Mylar, a continuous light source and a creative background, it is possible to create images that look as if you are looking at a pool or ocean or Mediterranean coast.
In this lighting tutorial, two techniques are used to create water-inspired reflections and highlights that add depth, movement and atmosphere to portrait photography.
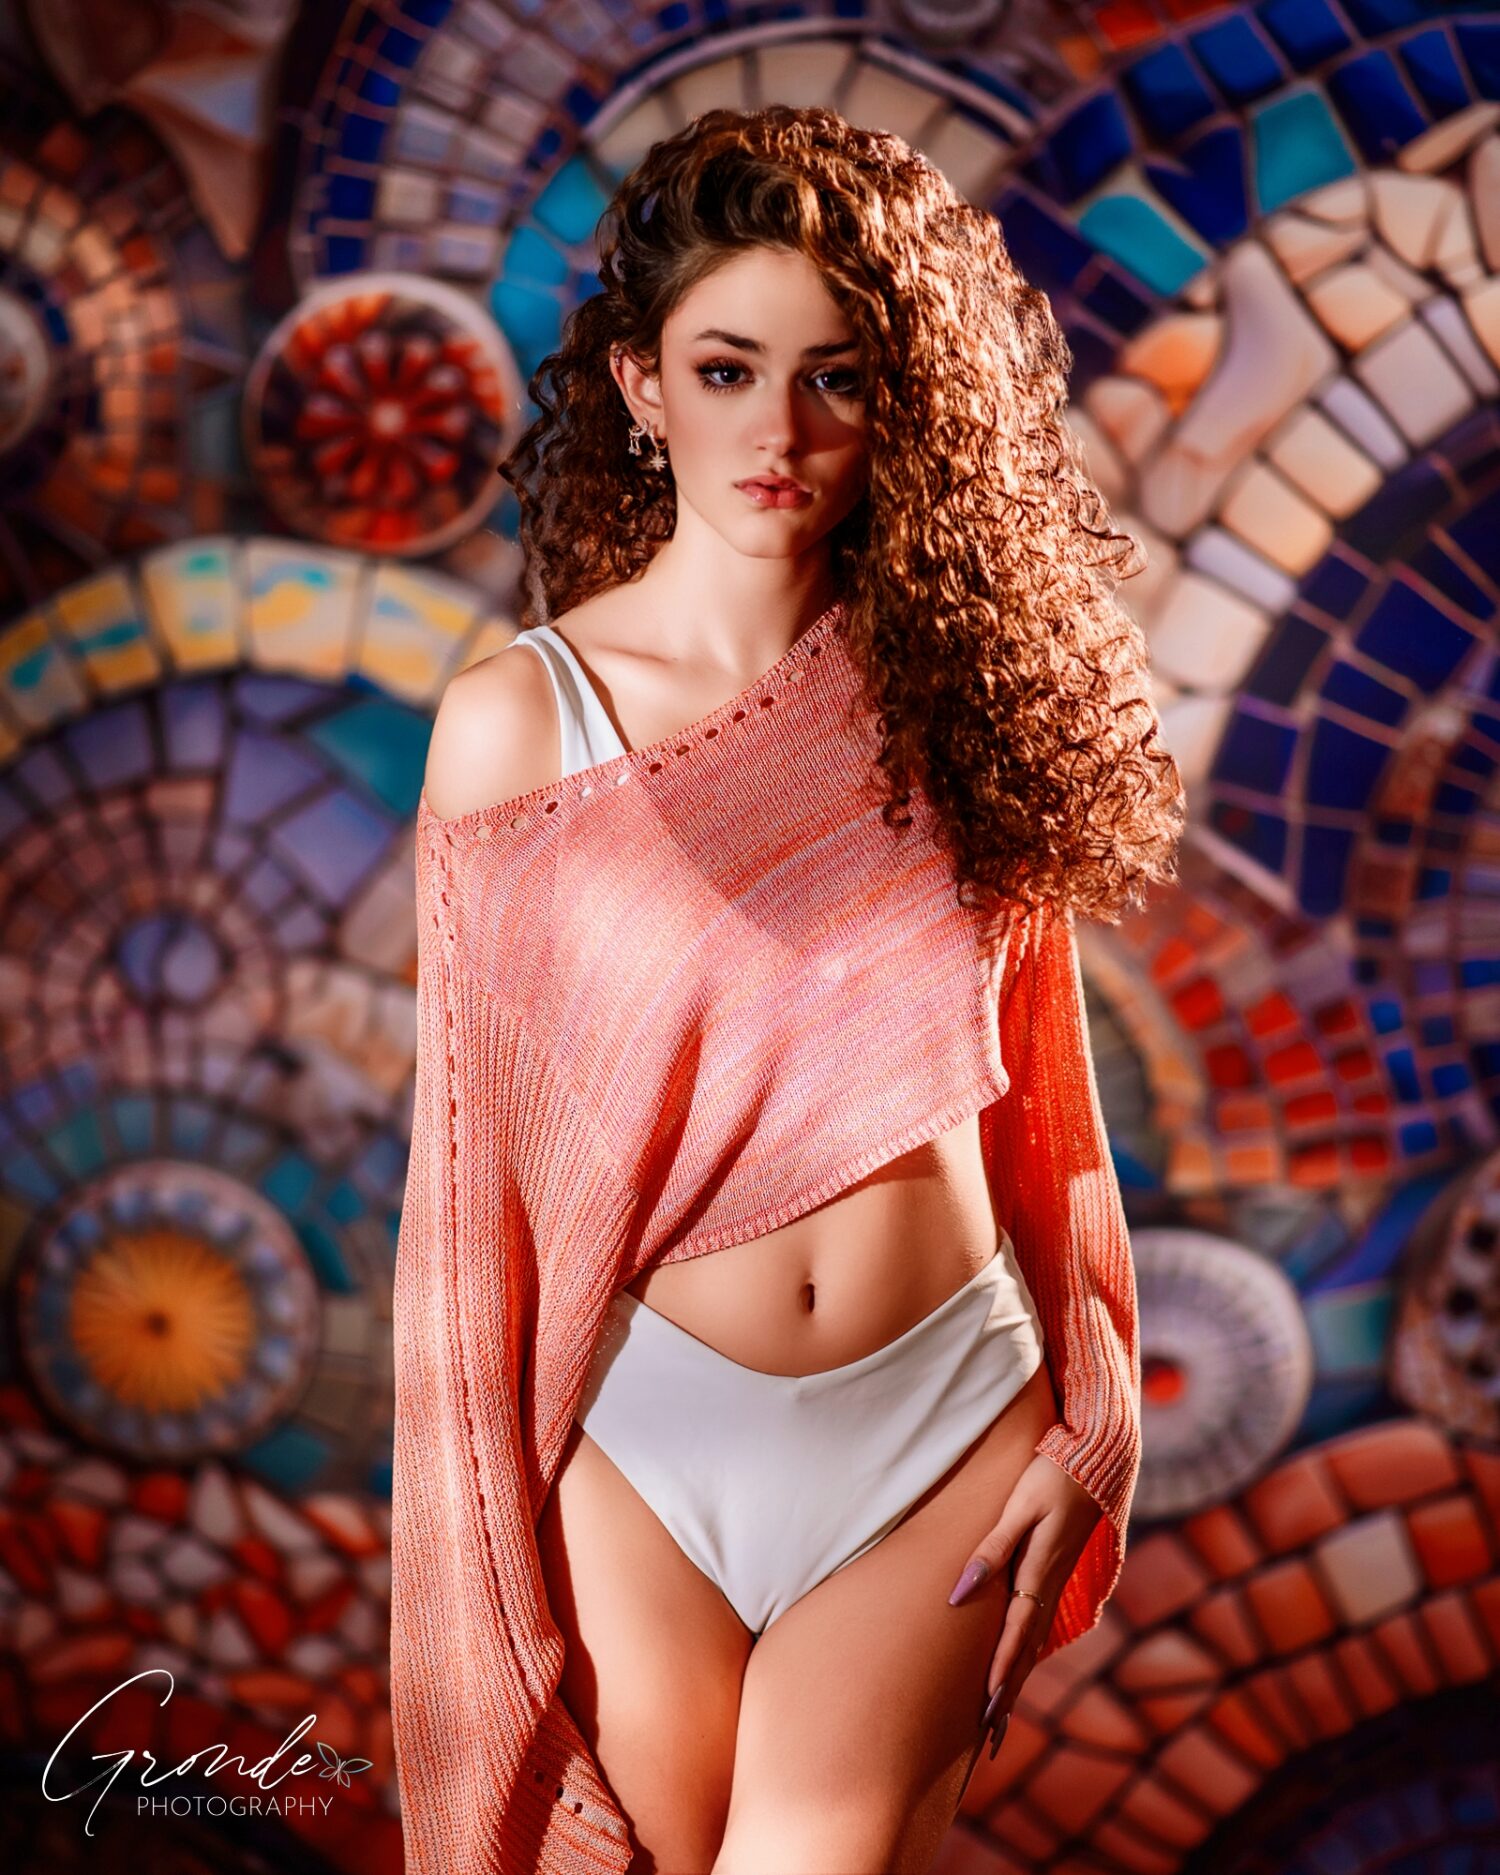
Creating Moving Water Reflections
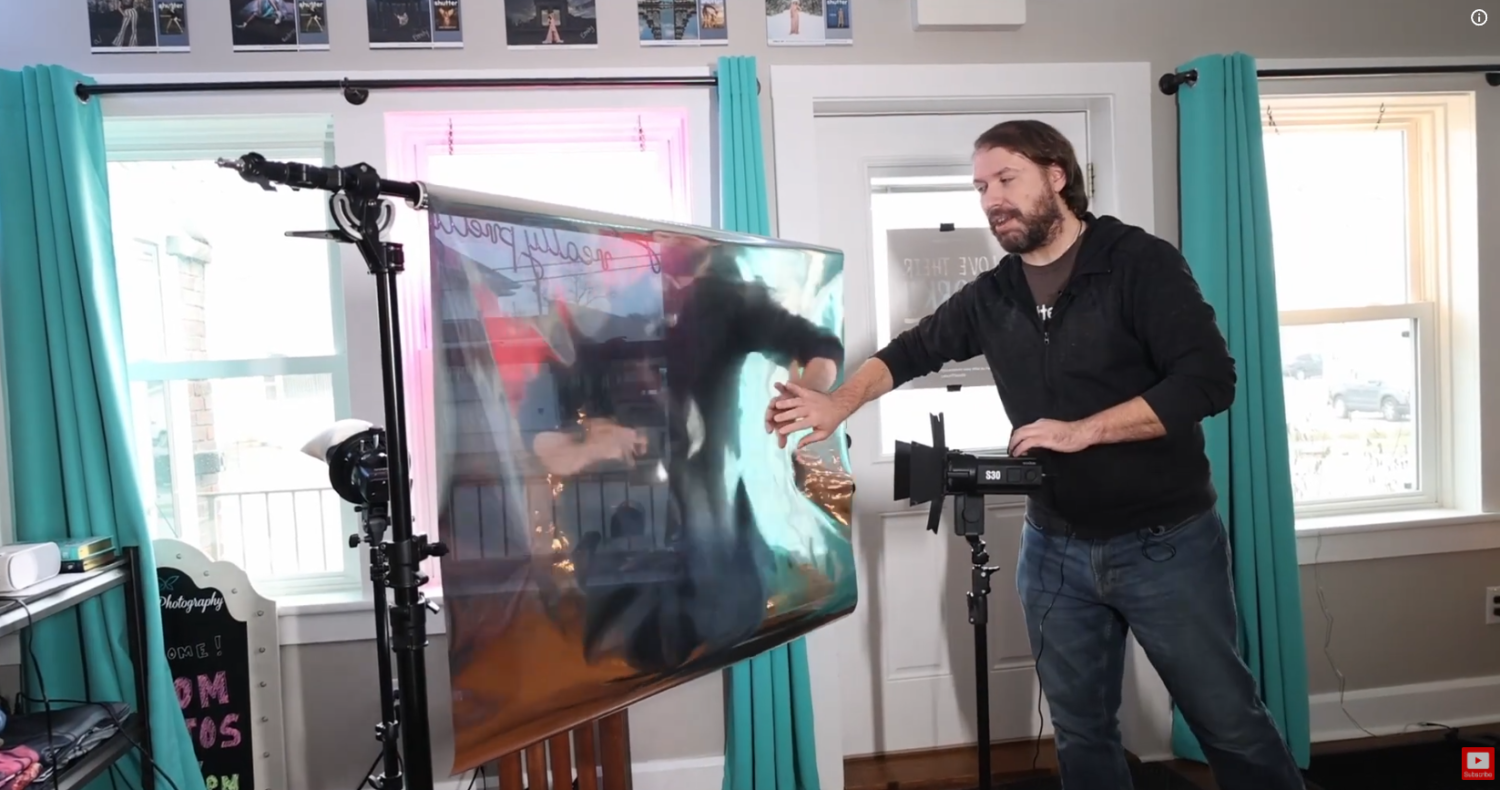
The first technique is the suspended sheet of Mylar in between the light source and the background.
Because Mylar is so reflective and easily manipulated, even very small movements can create shifts in highlights and shadows. When a focused light source is directed at the material, that reflected light can be projected onto the background, much as sunlight reflecting across moving water.
The amount of movement, wrinkle pattern, and angle of the Mylar all impact the final result, making this a very customizable technique for creating unique lighting patterns.
This is particularly useful when photographing subjects against painted backdrops, textured walls or environmental settings that require more movement and visual interest as well.
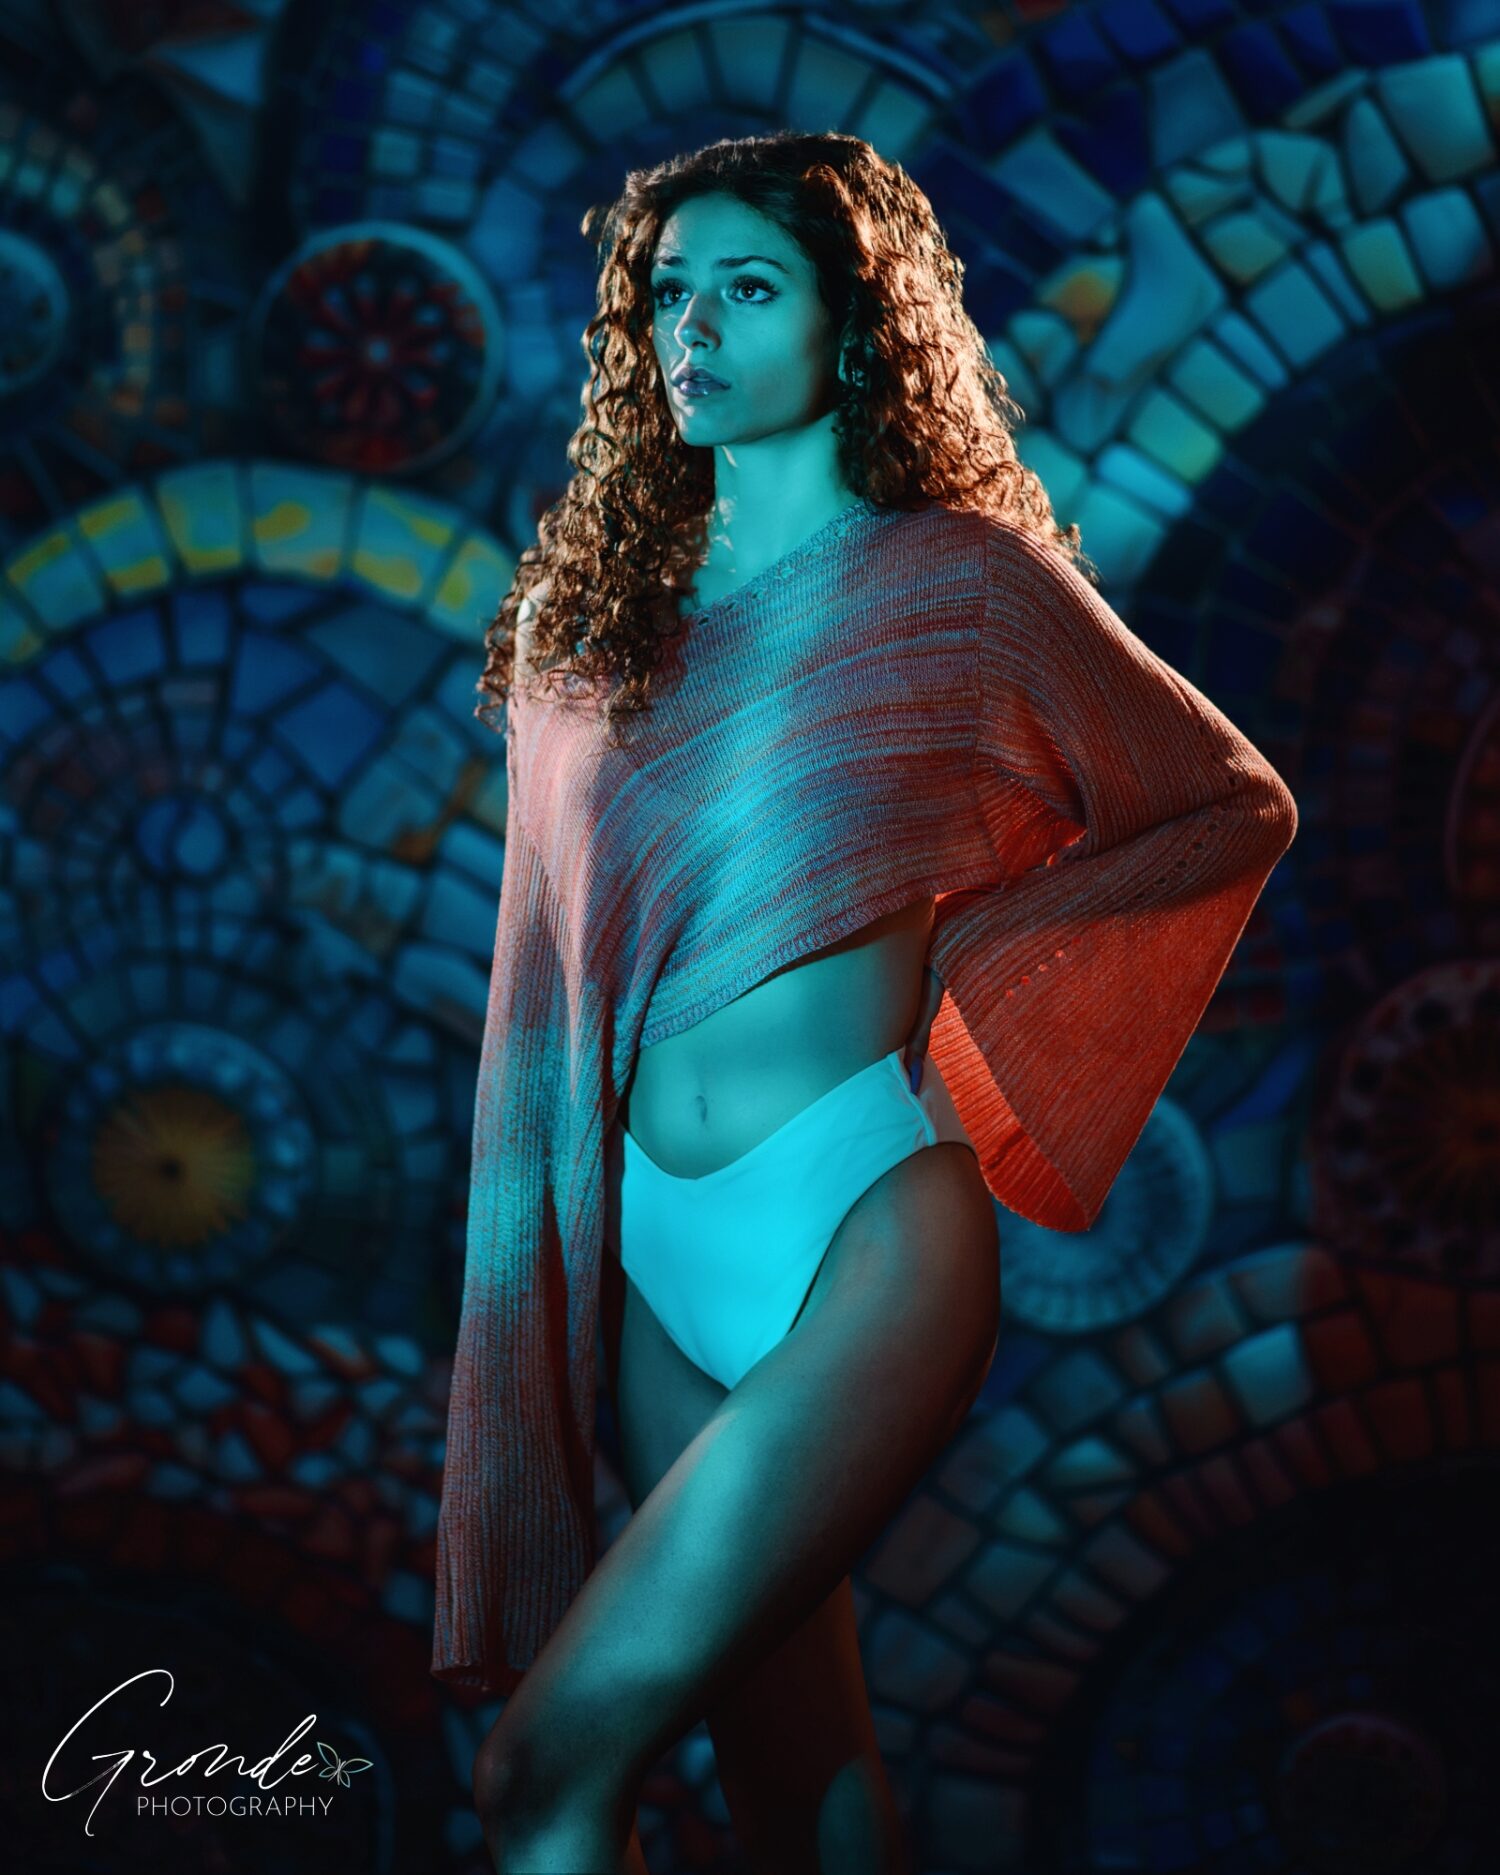
Enhancing the Effect with Color
Moreover, adding a colored gel to the light source can enhance the illusion of water.
For this setup, a turquoise gel was added to the cool tones already present in the backdrop. The addition of color further imbued the coastal look while also keeping the image in a good mood.
Small variations in color temperature and gel selection can drastically change the atmosphere of the final photograph, making this an easy way to create multiple looks from a single setup.

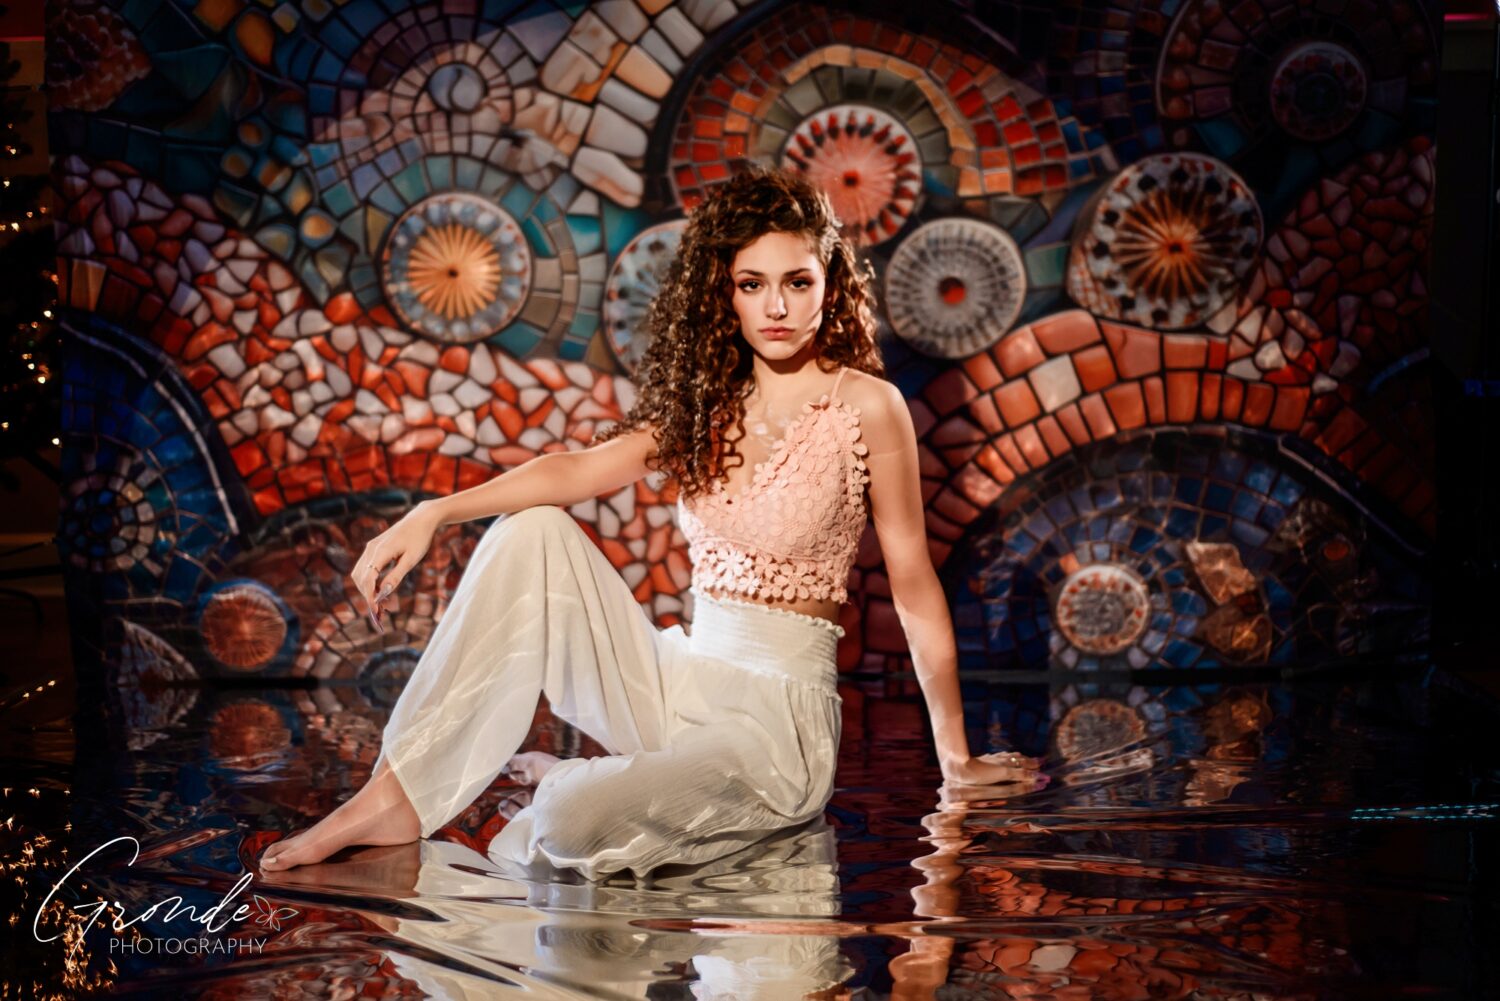
Using Mylar as a Reflective Surface
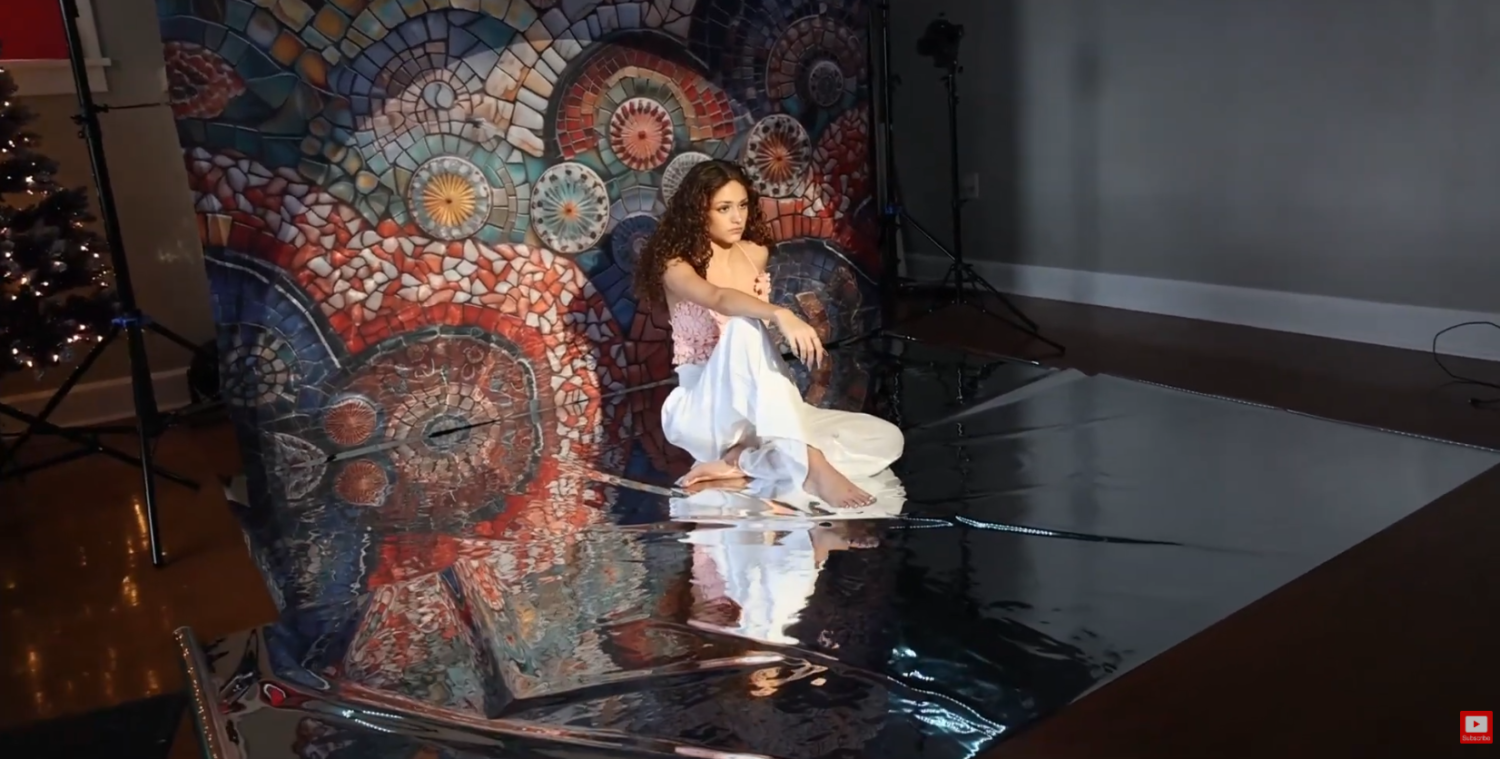
The second technique is to put the Mylar directly on the studio floor.
Instead of reflecting on the background, the material now creates reflections beneath the subject. The wrinkles and texture naturally present in the Mylar contribute to a slight distortion, creating the ripple effect that mimics the appearance of water.
This way of building the picture gives depth to the composition and creates a reflective surface but does not require any special flooring or set construction.
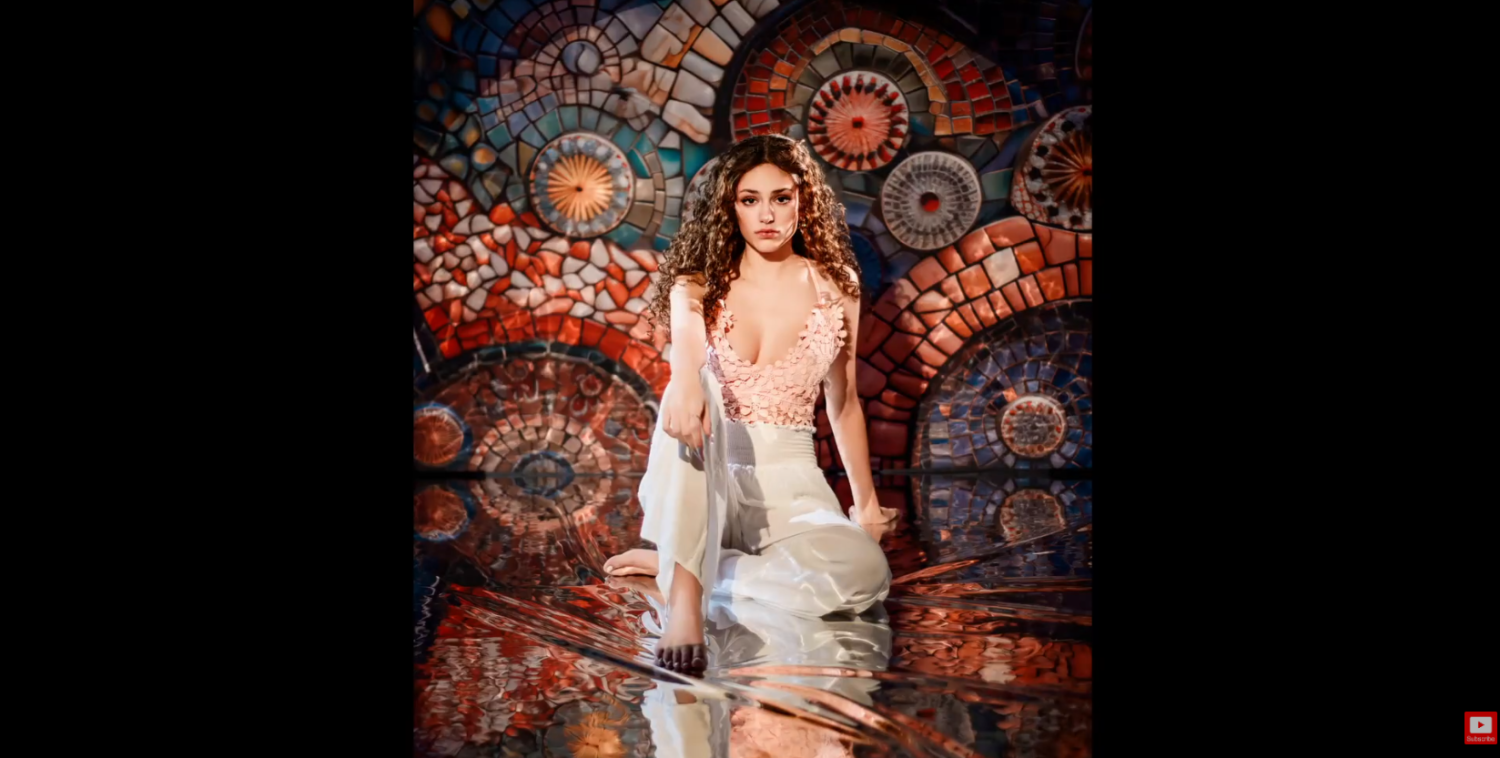
If you’re able to use the right setting and styling, such a painting can make a studio portrait very much more environmental and cinematic.
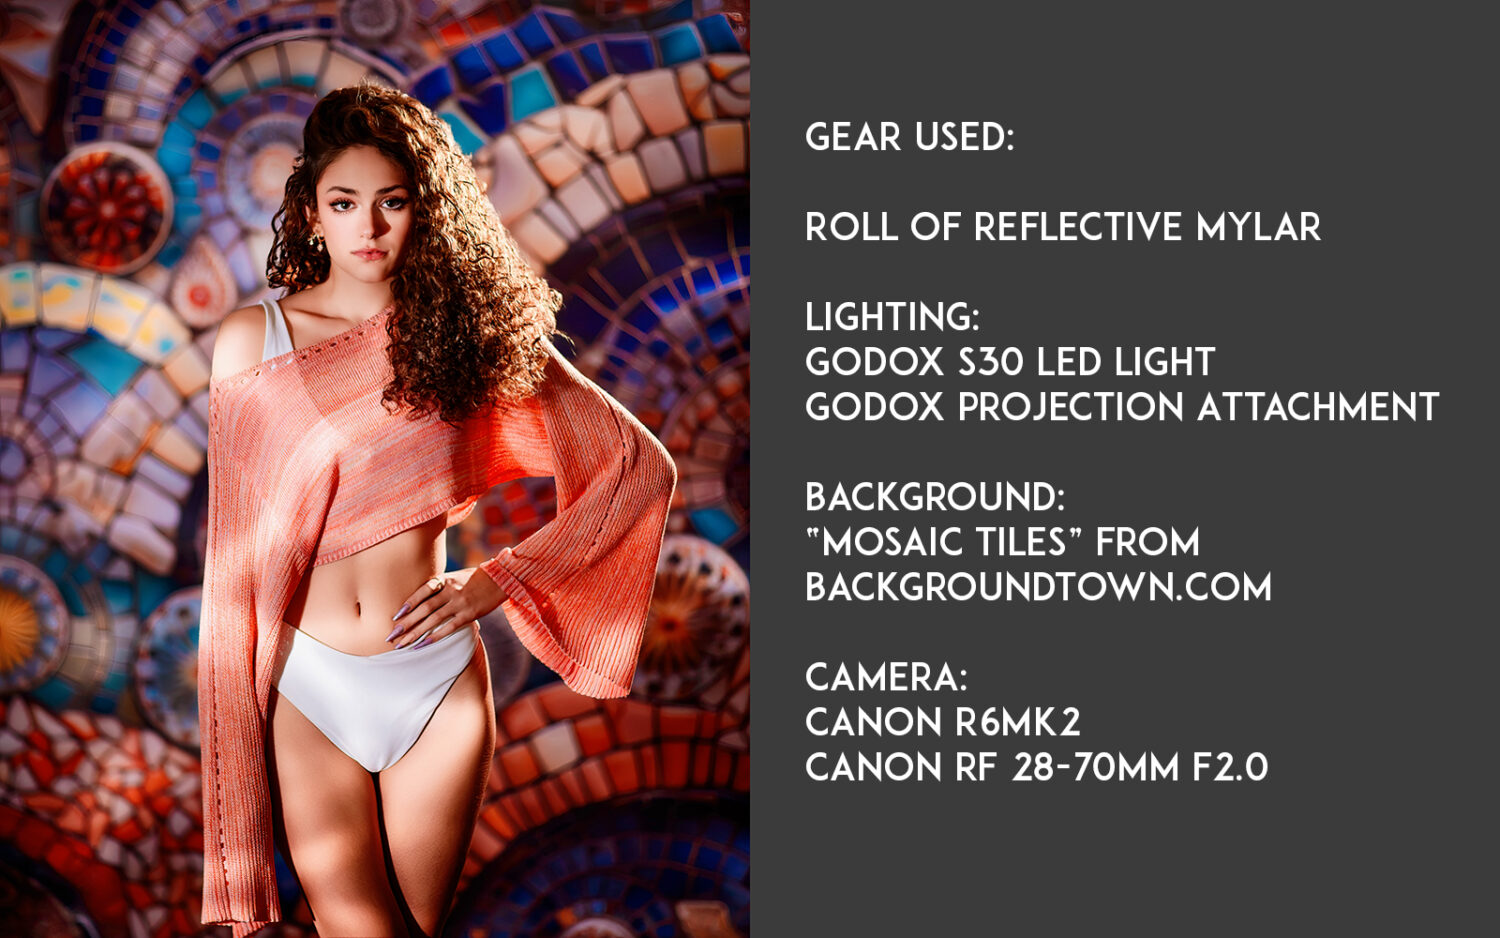
Simulating Sunlight with a Projection Attachment
To complete the scene, the Godox projection attachment was added to the LED light.
Unlike a broad light source, the projection attachment takes a more focused beam of light with harder edges. This creates highlights that resemble natural sunlight and helps define the reflective patterns of the Mylar.
The combination of directional light and reflective surfaces makes the edges of the scene look better and more distinct; the contrast is stronger.
This is especially effective for photographers who want to create destination-inspired imagery and can control the studio environment in a very hands-on way.
Why Mylar Is Worth Keeping in the Studio
Photography tends to encourage experimentation and few tools offer as much creative freedom for such a small investment as a roll of Mylar.
Whether suspended to create moving reflections or placed on the floor to generate reflective surfaces, Mylar can be used to generate effects that would otherwise require significantly more time, equipment, or budget.
So for portrait photographers who want to make movement, atmosphere, and visual impact in their images, it is still one of the most versatile and affordable creative tools for them.